How to Compress a Video: Phone and Computer Steps

Short answer
On iPhone, open your video in iMovie and export it at a lower resolution. In the export controls, tap Save or Share Video, then Options, and choose a setting such as 720, 540 or 360. Save the video, then check its size in Photos.
Add the video to iMovie, choose a lower resolution, save it, check the new size, then trim it if it is still too large.
On Mac, iMovie offers Resolution under File, Share, File. On Windows, Clipchamp offers smaller export choices such as 480p and 720p. The walkthrough below follows the iPhone route.
Before you start
Apple’s instructions use an iPhone 12 or later with iOS 26 or later and the latest iMovie. Earlier phones and versions may have different steps or options.
Have the video in your iPhone photo library. Our suggestion: keep the original while you make a smaller version. At the end, compare both the file size and the picture before sending it.
Step 1: add the video to iMovie
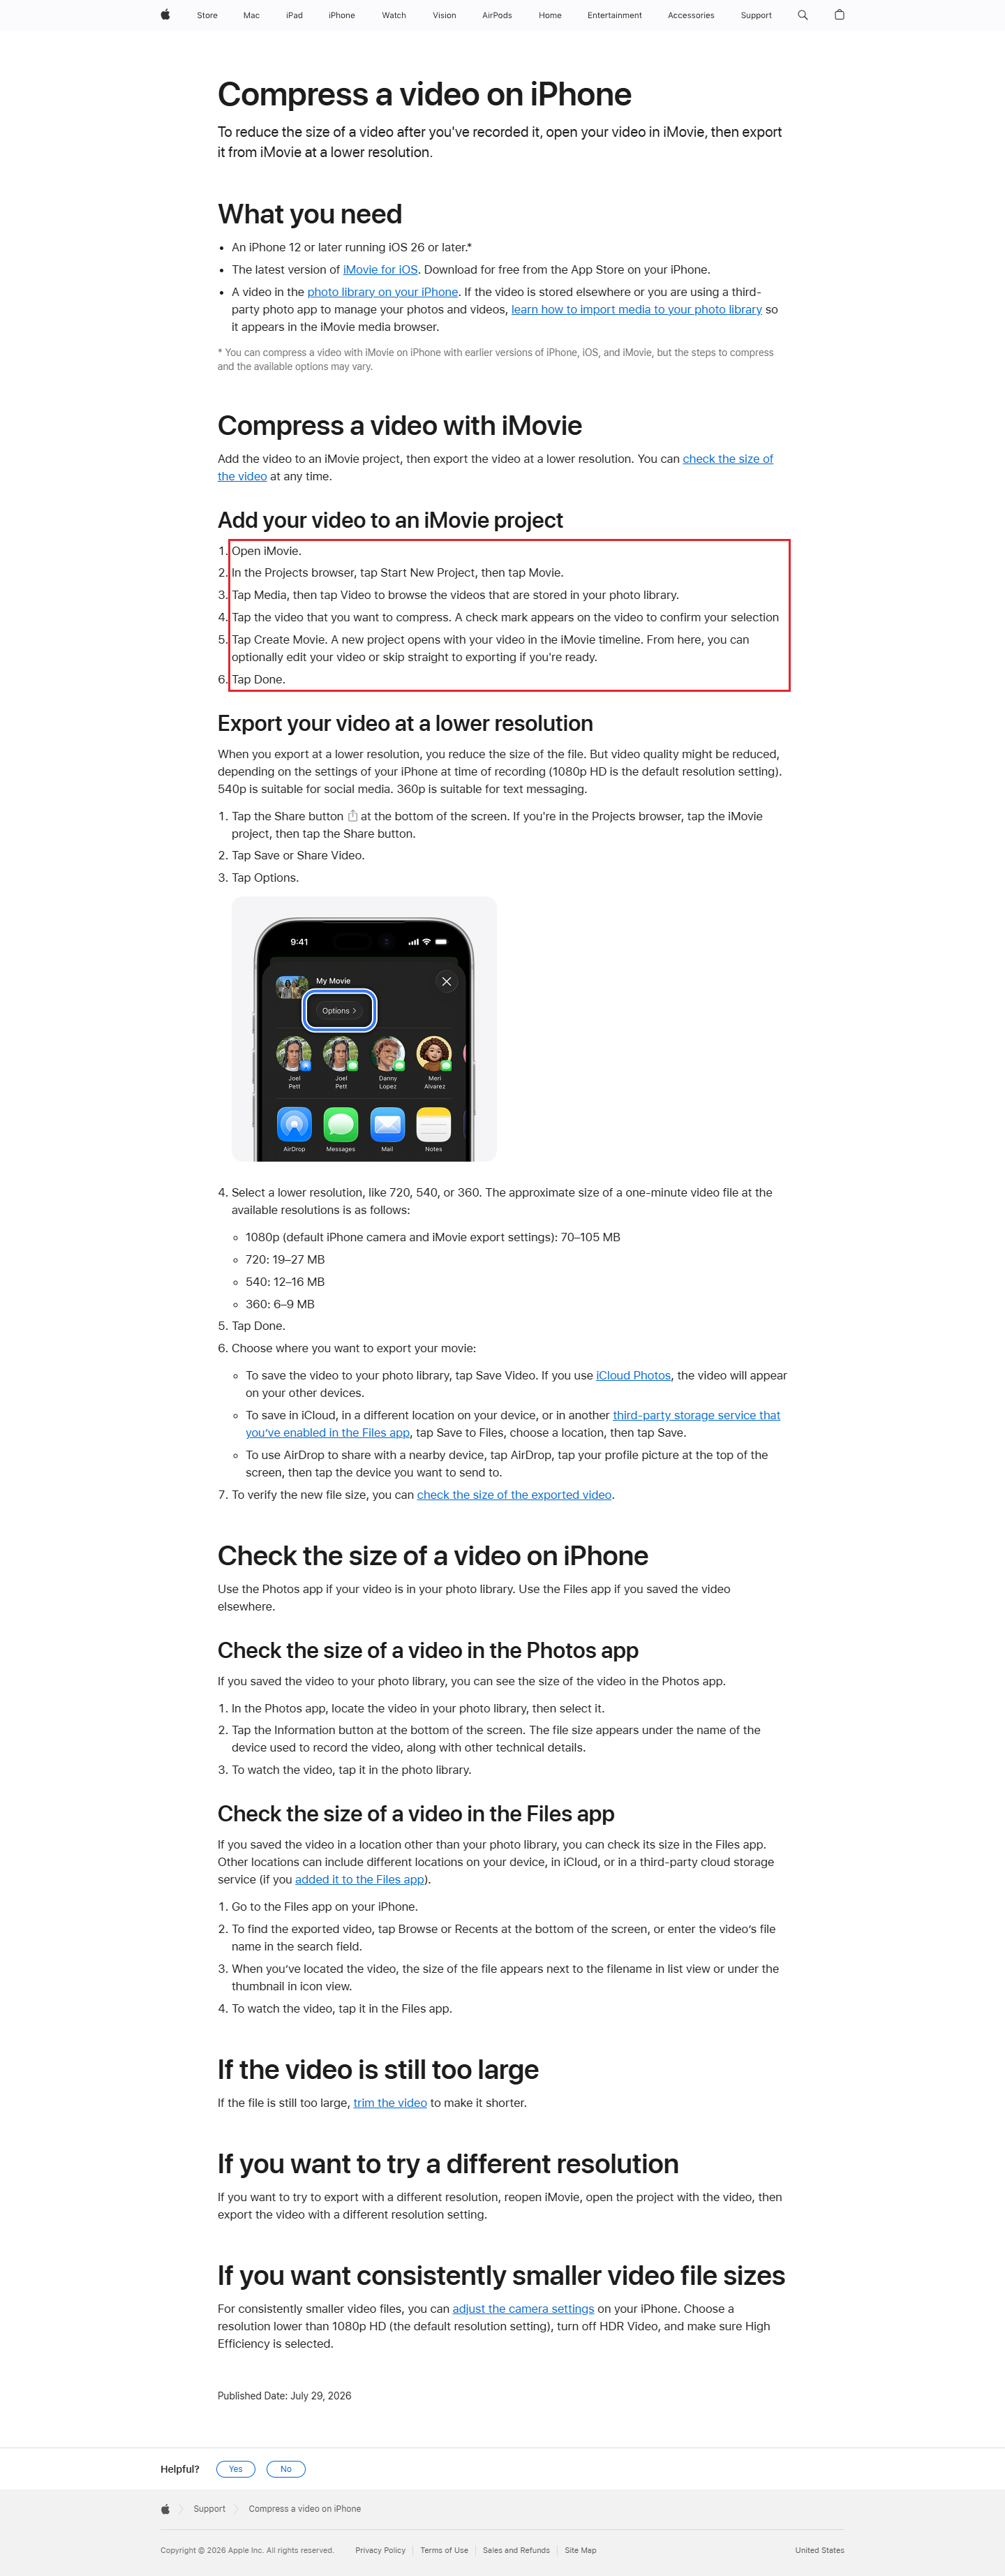
Open iMovie. In Projects, tap Start New Project, then Movie. Tap Media, then Video to browse your photo library.
Select the video, then tap Create Movie. You should now see your video in the iMovie timeline. Tap Done to move on to export.
Step 2: choose a lower resolution
Tap Share at the bottom of the screen. If you are in Projects, tap the project first, then Share. Tap Save or Share Video, then Options.
Choose a lower resolution, such as 720, 540 or 360. Apple says exporting at a lower resolution reduces the file size, though picture quality may also fall.
| Resolution | Approximate size | Apple’s note |
|---|---|---|
| 1080p | 70 to 105 MB | Default iPhone camera and iMovie export settings |
| 720 | 19 to 27 MB | Lower-resolution option |
| 540 | 12 to 16 MB | Suitable for social media |
| 360 | 6 to 9 MB | Suitable for text messaging |
Source: Apple: Compress a video on iPhone, read 5 November 2026. These are Apple’s approximate sizes, not measurements of your video.
Step 3: save it
After choosing the resolution, tap Done. Tap Save Video to put the compressed video in your photo library.
Our suggestion: check the saved copy rather than judging the result from the export setting alone. Look at details that matter, such as a product label or a person’s face.
Step 4: check the new file size
In Photos, find and select the exported video. Tap Information at the bottom of the screen. The file size appears below the name of the recording device.
Compare that size with the version you started with. Our suggestion: also play the new copy all the way through before you send it to a client.
Step 5: still too large?
Apple suggests trimming the video to make it shorter. You can also reopen the project and export again with a different resolution.
For consistently smaller recordings in future, Apple lists a resolution below 1080p HD, HDR Video off, and High Efficiency selected. Keep the needs of the next video in mind before changing recording settings.
- Add the video to iMovie
- choose a lower resolution
- save it
- check the new size
- trim it if it is still too large
On a Mac: iMovie
In iMovie, select your movie and choose File, Share, File. Use the Resolution pop-up menu to choose an export resolution.
For more control, choose Custom under Quality and drag the slider to set the target bit rate. As you move it, the estimated file size beneath the preview updates. Use that estimate to compare export choices before saving.
On Windows: Clipchamp
Click Export in the corner of the editor to see the resolution choices. Microsoft lists 480p, 720p, 1080p and 4K. It describes 480p as the smallest choice and 720p as a smaller-file option for social posts.
| Device | App | Where to start |
|---|---|---|
| iPhone | iMovie | Share, Save or Share Video, Options |
| Mac | iMovie | File, Share, File, then Resolution |
| Windows | Clipchamp | Export, then choose a resolution |
Source: Apple iPhone, Apple Mac and Microsoft Clipchamp, read 5 November 2026.
A new export can be larger than the original. Microsoft identifies exporting above the original resolution as a possible cause. It also says file size depends on frame rate, bit rate and duration, as well as resolution and codecs.
Microsoft names the open-source HandBrake as an option for converting source videos. Our suggestion: try a different export resolution first and compare the result, rather than adding another tool immediately.
Android phones
(Our suggestion) If you are working from an Android phone, move the video to a computer and use the Mac or Windows route above. Keep a copy on the phone while you compare the exported file.
Our example: a bakery video plan
Our example (illustrative, not a real client).
Maple Crumb Bakery wants to send a 1-minute menu preview to a client. Our suggestion is to try a smaller version, then let the file-size check guide the next decision.
- Clip: a short tour of the new pastry selection.
- Destination: a client message, with a separate social post planned later.
- First choice: our suggestion is 540 for a preview, using Apple’s social-media option as a starting point.
- Check: open the saved copy in Photos and read Information.
- If still too large: remove a repeated shot, then export again.
- Before sending: confirm that menu details remain readable.
Frequently asked questions
Does a lower resolution reduce file size?
Yes. Apple says a lower-resolution export reduces file size, though video quality may also fall.
Why is my Clipchamp export bigger?
Exporting at a higher resolution than the original is a possible reason. Microsoft also lists frame rate, bit rate, duration and codecs among the factors affecting size.
Will the exact steps match an older iPhone?
Apple’s page uses iPhone 12 or later with iOS 26 or later. It says earlier iPhone, iOS and iMovie versions may have different steps and options.
Sources
Maker instructions read 5 November 2026.
Published · Updated