How to make an explainer video from one idea
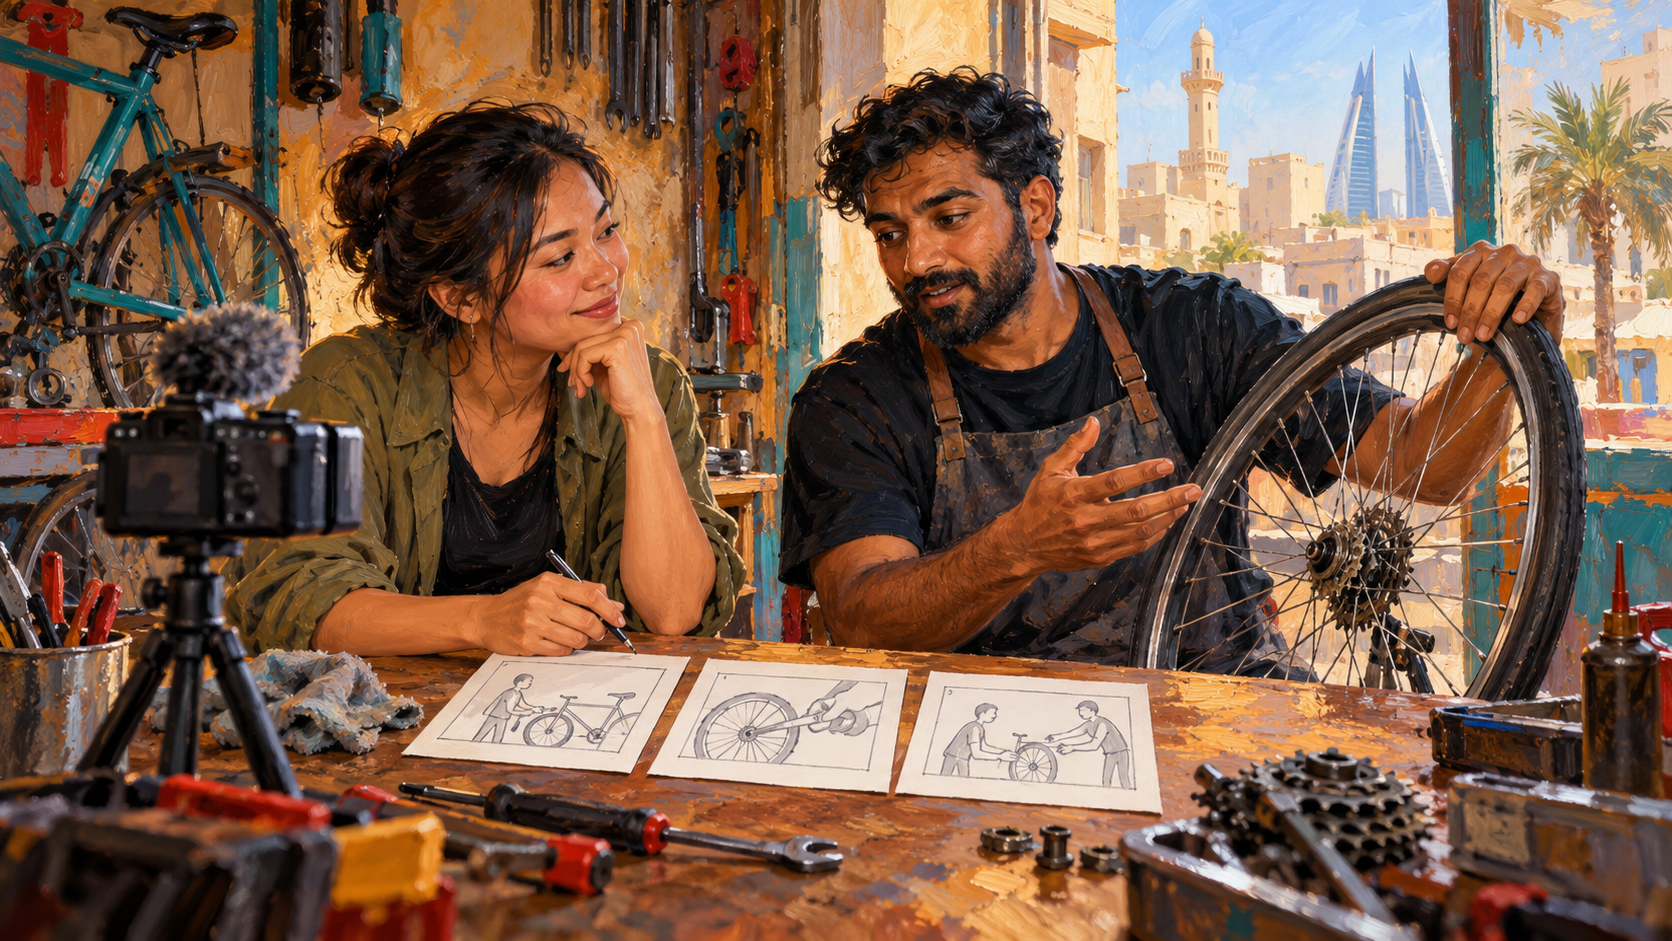
Imagine planning your first explainer: the idea sounds clear, but you cannot picture what to film. Put the words beside the shots before opening an editor.
Choose one point for one audience. Write the words you will say. Sketch a picture for each idea. Then pick a video style and put the sound and pictures together. Show the rough video to someone who does not know the subject. If the point is unclear to them, change the words or pictures before publishing.
An explainer video makes one subject easier to understand by showing it. Film a real person or object. Or show a screen or moving drawing. You can begin on paper. The storyboard below shows a made-up bicycle repair shop in Bahrain so you can see how an idea becomes a sequence of scenes.
Step 1: start with what the viewer needs to understand
Imagine telling a friend about a service. What would they ask first? Write one answer, not everything you know. If the viewer needs to see a process, show the changes as they happen. If they need to compare options, put the options side by side. Let the picture carry some of the explanation.
Choose one point for one audience. A repair shop might want a new customer to understand what happens after they bring in a bicycle. A team training video may need staff to see where to find a setting on screen. These are different jobs. The same footage and words will not make both clear.
Write a sentence that says what the viewer should know at the end. Keep it beside you as you draft. When a scene does not help that sentence, cut it.
Step 2: pick a style that shows the right thing
Pick a video style that shows your subject. Put the real person or object on camera when it is the subject. Picture a mechanic pointing to a bicycle part or a cook showing a finished dish. Get the person and the place ready before filming. Match the words to what the business actually does. Avoid a staged picture that suggests a service or result you cannot show.
Use the screen-recording route in the table below when the subject lives on a device. Hide private details before recording.
Choose the drawing route for stages that are hard to film.
Choose the template route when you already have pictures or clips to arrange.
Use the AI route for a first visual draft, then replace any picture that invents a detail about the real subject.
Step 3: write the words beside the pictures
Write the spoken words in a plain note. Sketch a matching frame for each line. Put the picture you expect to show beside each line. You do not need artistic skill to plan a shot. Draw a rough square with an object and an arrow to show what to film. The point is to catch a mismatch early: if the words say one thing but the picture shows another, change one of them.
For a first draft, open with the question the viewer brought. Give the answer in ordinary language. Add only the details needed to understand it, then end with a useful next step. Read the lines aloud. A line that feels awkward to say will usually feel awkward in the finished video too.
Below is an original, fictional example. It describes a bicycle repair shop that does not exist.
| Scene | Words to say | Picture to show | Why it is here |
|---|---|---|---|
| The problem | “Does your bicycle feel wrong when you ride?” | Side view: a customer stops beside the workshop and looks at the front wheel. | Start with the customer’s concern. |
| The part | “Show us where you notice it.” | Close-up: the customer points to the front wheel. | Give the words a concrete object. |
| The conversation | “Tell us what you hear or feel.” | Over the mechanic’s shoulder: the customer describes the problem. | Show listening before any promise. |
| The check | “We look at the wheel with you.” | Close-up: the mechanic turns the wheel while the bicycle is held steady. | Show the proposed check. |
| The explanation | “We explain what we find.” | Two-shot: the mechanic points to the same wheel while speaking to the customer. | Connect the explanation to the part. |
| The choice | “We talk through the next step before work begins.” | The customer and mechanic face each other beside the bicycle. | Show the customer hearing what comes next. |
Complete example script, for this fictional shop only:
Does your bicycle feel wrong when you ride?
Show us where you notice it.
Tell us what you hear or feel.
We look at the wheel with you.
We explain what we find.
We talk through the next step before work begins.
Do not copy the shop's words as a claim about your own business. Change the lines to match the real service. If you cannot show the promised moment, choose a different picture or remove that promise. Check your business's current price and repair time before adding either detail.
You could make the same example without narration. Put short words on screen and let the pictures carry the process. If you use a voiceover, record the spoken audio after the pictures are planned. VideoScribe says creators can record or upload a voiceover in its editor. The point of the plan is to keep sound and picture together, whichever route you choose.
Step 4: turn the storyboard into a video
Gather the pictures and record or prepare the sound. Then place them in the order of the storyboard. Cut any shot that repeats a point without helping the viewer. You can use any editor; the choice matters less than whether the words and pictures agree.
Review the finished video with someone who has not heard the explanation. Ask them what the video says and where they became confused. Watch it once without sound to see whether the pictures tell the same story. Listen once without watching to catch words that depend on an unseen image. Make the next edit where their answer and your intended point differ.
From idea to video
- Choose one point for one audience
- Write the spoken words
- Sketch a matching frame
- Pick a video style
- Review the finished video
Which route should you pick?
Start with what your viewer came to see. For a software setting, show the real screen. For a physical service, film the object involved. If the subject is hard to show, try a drawing. Use effects only when they help the explanation.
| Route | Choose it when | Plan around | Example tool |
|---|---|---|---|
| Film a person or object | The real person or object is the answer. | Getting the place, person and light ready. | Camera and editor of your choice |
| Record a screen | The real action happens on a device. | Hiding private details and keeping the screen readable. | Loom |
| Use a template editor | You have pictures or clips but need a layout. | Replacing generic scenes with your own material. | Canva or Adobe Express |
| Draw or animate | The idea has stages that are hard to film. | Making each drawing match a line of the script. | VideoScribe |
| Start with AI video | You want a first visual draft from words. | Checking every generated picture and claim. | Invideo |
The tools in the table are examples, not a ranking. Choose the route that can show your actual subject.
Frequently asked questions
Do I have to draw a detailed storyboard?
No. Sketch only enough to tell what appears on screen when each line is spoken. Look for missing pictures before you film.
Should I write the script or pick a tool first?
Write the point and a rough script first. Then choose the route that can show it. Choose a tool after deciding what the video must show.
Can an AI tool finish the video from my script?
Invideo says its AI can generate an explainer from text. Check its pictures and sound before sharing. Check every fact too. Do not present a generated scene as your real shop or product.
What if I do not want to speak on camera?
Use a voiceover or on-screen words. Adobe Express describes a voiceover option, and VideoScribe lets you record or upload one. Keep the words short enough to follow while the picture changes.
How do I know if the explanation is clear?
Show the rough cut to someone who does not know the subject. Ask what they understood and where they lost the thread. Change the scene or line they could not follow.
Sources
Canva explainer video maker; Adobe Express explainer video maker; VideoScribe explainer video guide; Loom screen recording; Invideo script-to-video; Invideo whiteboard video.
Last checked: 29 October 2026.
Published · Updated