How to Make a Storyboard for a Video: Steps and a Free Template
To make a storyboard, break your script into shots and draw a panel for each shot. Sketch where people and objects sit in the frame. Add the words, camera direction and estimated time underneath, then walk through the panels in order.
You can use stick figures and simple shapes. Start with the copyable template below, then follow our illustrated product-video example. The aim is a clear shooting plan, not polished artwork.
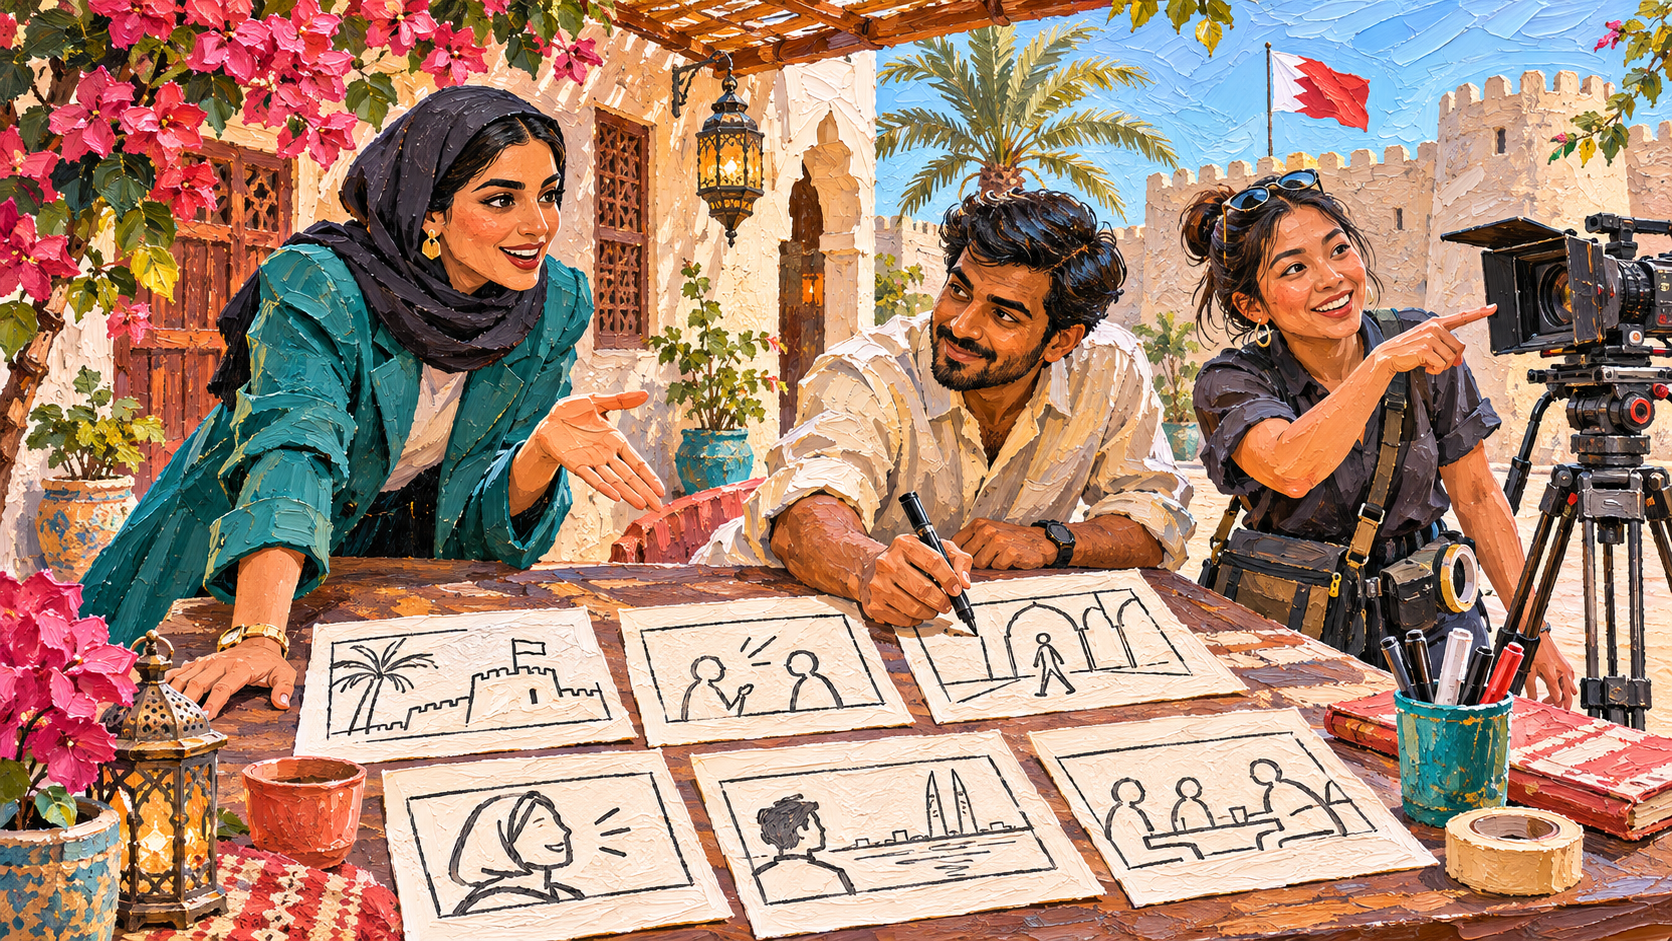
Before you start
Have a script or a clear outline ready, along with a pencil and blank frames. Decide where the video will appear and what it needs to show. Gather any real product or location references the team will need.
You will finish with an ordered set of panels and notes someone else can follow. For this exercise, start with the main action rather than decoration. A rough drawing is useful if it makes the shot clear.
Step 1: break the script into shots
Read the script and mark each change in what the camera needs to show. A scene may contain several shots: a person in a place, a closer view of an object and a detail of an action. Give each planned shot its own panel.
Ask what the viewer needs to understand at that point. In our notebook example, the opening shows someone with an idea. Later shots show the notebook coming out, the pen moving and the notebook going back into a pocket.
Do not draw a panel for every sentence automatically. Keep a shot if it has a clear job. Split it when a new angle or action needs a separate view.
Step 2: pick the frame shape
Match the drawing frame to the video you plan to make. A landscape 16:9 frame is the default described in StoryBoom’s guide. Its example resolution is 1920 by 1080.
Our example (illustrative): Pocket Loom uses wide frames. For a vertical version, our suggested frame is 9:16: redraw the composition in a tall box. Do not simply assume every object in the wide sketch will still fit.
Keep faces, the product and any essential text inside the space you draw. If you need both wide and tall versions, sketch each version of an important shot. Decide what to leave out before you film.
Step 3: sketch each panel
Use a circle for a head, lines for a body and boxes for objects. Simple shapes are enough to show positions and movement. Put the important action where the team can see it at a glance.
Add arrows when something moves. Label whether the arrow describes the subject moving or the camera moving. If the camera stays in place, write “static” rather than leaving the movement unclear.
Choose the shot size according to what you want the viewer to notice. Our guidance below gives you a starting choice; change it when the story needs a different view.
| Shot | What to draw | Try it when |
|---|---|---|
| Wide | The person and the surrounding place. | The viewer needs to understand where the action happens. |
| Medium | The person’s upper body and relevant action. | A gesture or interaction matters. |
| Close-up | A face or object taking up much of the frame. | You want attention on a reaction or product. |
| Extreme close-up | A small detail filling the frame. | The detail is the point, such as a pen touching paper. |
| Over-the-shoulder | The foreground shoulder and what the person sees. | The viewer should follow an action from that person’s viewpoint. |
Step 4: add the notes under each panel
Include the shot number, spoken words, sound, camera movement and estimated duration. These notes turn a sketch into instructions for the shoot. Keep the description specific enough that the team does not need to guess.
Copy this template and add rows as needed. Draw the sketch above the notes or attach it beside the row. In the camera field, describe a move or write “static”; in the words field, use the actual line.
| Panel | Sketch notes | Shot size | Camera | Words / sound | Seconds |
|---|---|---|---|---|---|
| [Shot label] | [Who is where, with what object?] | [Wide, medium or detail] | [Static or a named move] | [Exact line and sound cue] | [Estimated duration] |
| [Next shot] | [What changes?] | [The view that makes it clear] | [Static or a named move] | [Exact line and sound cue] | [Estimated duration] |
Use plain directions. “Move toward the notebook” is clearer than “make it cinematic.” If a sound begins before the next shot, note that handover. Check the order of actions as well as the appearance of each drawing.
Planning fields: MagicLight’s storyboard guide. The template and example are ours.
Step 5: walk the team through it
Show the panels in order and invite questions. Read the words while pointing to the shot that goes with them. Ask the person filming and the person editing what they would need to make each panel work.
Check continuity: does the product stay in the same hand, and does the action make sense between shots? Check practical needs too. A close-up of writing needs a view where the hand and page are visible.
Use this final review before filming:
- Does each panel have a clear purpose?
- Are movement arrows labelled as camera or subject movement?
- Do the words and the action match?
- Are planned durations realistic when you walk through the actions?
- Does the ending show a next step the viewer can follow?
Change the board when a shot is unclear or impractical. Share the revised version with the team so everyone uses the same plan.
- break the script into shots
- pick the frame shape
- sketch each panel
- add the notes under each panel
- walk the team through it
Our example (illustrative): six panels for a 30-second product video
Our example is a made-up pocket-notebook brand called Pocket Loom. The drawings, spoken lines and planned timings below are our own. They illustrate a shoot plan, not a real product campaign or a timed recording.
Panel 1: A commuter notices an idea
Shot: Wide. Camera: static. Words: “Got an idea?” Estimated duration: 4 seconds.
Panel 2: The notebook comes out
Shot: Medium. Camera: static. Words: “Keep it close.” Estimated duration: 5 seconds.
Panel 3: The notebook opens
Shot: Over-the-shoulder. Camera: static. Words: “Open Pocket Loom.” Estimated duration: 5 seconds.
Panel 4: A pen makes a mark
Shot: Extreme close-up. Camera: static. Words: “Make a mark.” Estimated duration: 5 seconds.
Panel 5: The notebook goes into a pocket
Shot: Medium. Camera: static. Words: “Take it with you.” Estimated duration: 6 seconds.
Panel 6: The notebook and pen close the story
Shot: Close-up. Camera: static. Words: “Choose your notebook.” Estimated duration: 5 seconds.
Use the captions as shooting notes: each gives the shot size, camera choice, words and estimated duration. For sound, our suggestion is a quiet background track under the short spoken lines; keep the pen-on-paper sound in the detail shot.
- Planned running time (our calculation): 4 + 5 + 5 + 5 + 6 + 5 = 30 seconds.
Walk through the actions with a timer before filming. If opening the notebook or putting it away takes longer than planned, change the shot timings and the total. For a real business, replace the fictional brand and closing line with its actual product and next step.
Storyboard guides in the results: snapshot, 3 November 2026
App guides, video tutorials and discussions offer different ways to start. Use a tutorial to see how someone sketches, then compare its process with your own script. Choose a format the team can read and revise without needing a new tool.
The template and illustrated sequence here give you a complete exercise to adapt. For a bilingual video, plan where each language will appear and walk through the reading time. Keep the picture clear when captions are added.
Frequently asked questions
Start with the action you need to communicate. Add detail only when it helps someone make or review the shot.
Do I need to be good at drawing?
No. Stick figures and simple shapes can show positions, objects and movement. Aim for a drawing the team can understand rather than a finished illustration.
How many panels do I need?
Plan a panel for each shot. Add a new one when the view or action needs a separate shot; do not use a fixed panel count just because a template has that many boxes.
Is a storyboard the same as a script?
The script tells you what needs to be said and shown. The storyboard turns the planned shots into pictures with notes. Use the script as your starting point, then review them together.
What if a shot changes on the day?
Update the relevant panel and tell the team. Check the shots around it so the changed action still joins up with the rest of the sequence.
Sources
References for the panel format, frame shape and production notes:
- Teleprompter.com: How to Make a Storyboard for a Video
- StoryBoom: Create Your First Storyboard
- MagicLight: Storyboard Guide
- StudioBinder: How to Make a Storyboard
Last reviewed: 3 November 2026. Drawings, template and product example are original illustrations, not a client case study.
Published · Updated