How to Remove Background Noise From a Video: Free Steps

Short answer
In Clipchamp, select the video on the timeline, open Audio and click Detach audio. Select the new audio clip, open Audio again and switch Noise suppression on. The editor processes the sound to reduce background noise, hum and echo.
Import your video, detach the audio, switch Noise suppression on, listen to the result, then export the video.
On a Mac, iMovie has a Reduce background noise checkbox. Supported iPhones offer Studio under Photos Audio Mix for Spatial Audio recordings. Use the device table below to choose your route.
Before you start
Have your video file ready and keep the original. Clipchamp’s noise tool works on audio, so the Windows route first separates the sound from the picture.
Our suggestion: choose a short section with speech and background noise for your first listening comparison. Judge the words as well as the noise. At the end, you want a video you can hear comfortably, rather than a stronger setting for its own sake.
Step 1: import your video
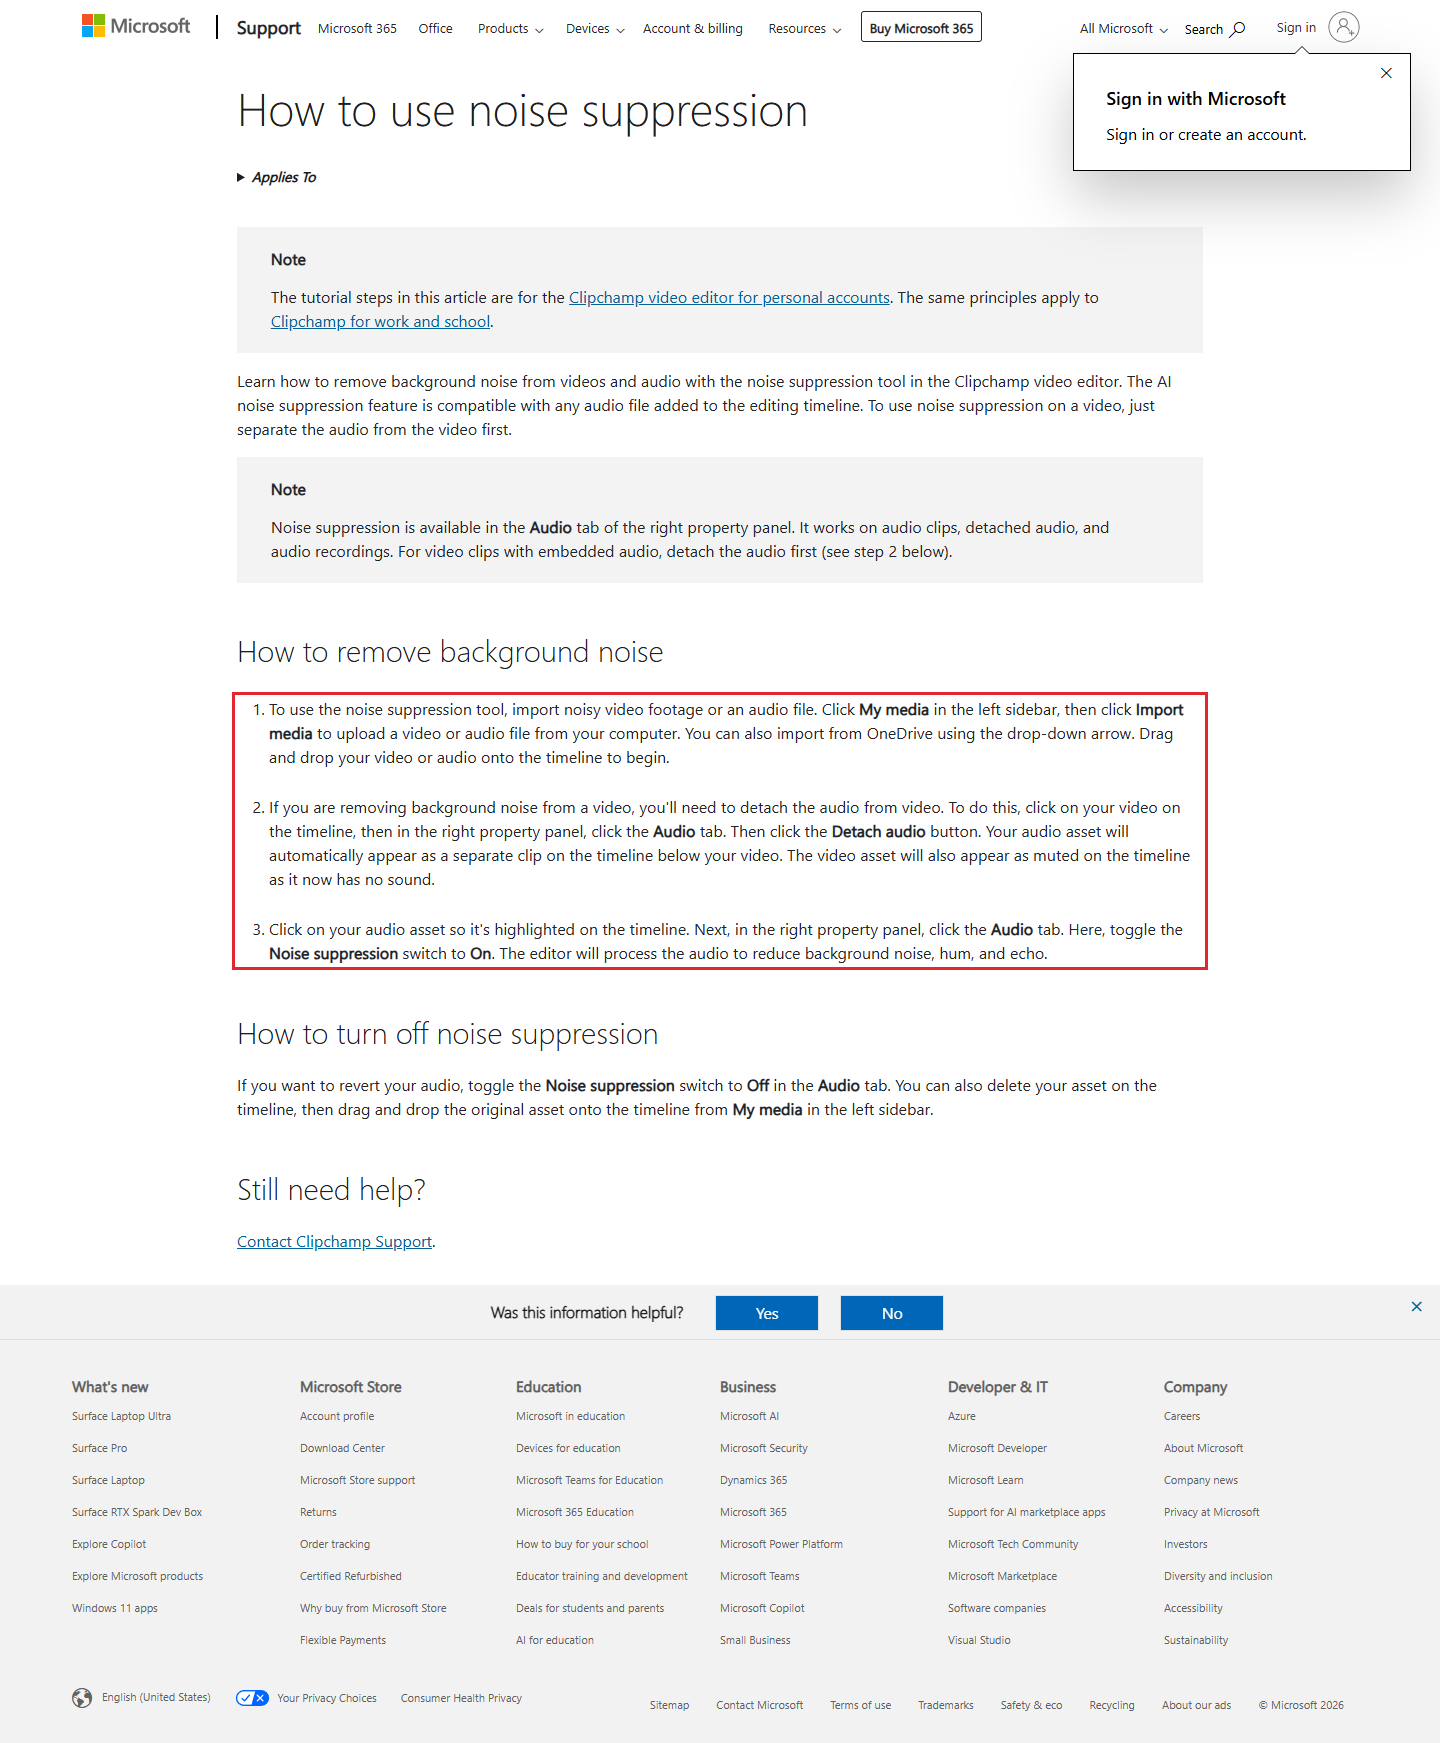
In Clipchamp, click My media in the left sidebar, then Import media. Choose your video file from the computer and drag it onto the timeline.
Our suggestion: play the original section once before changing the audio. Listen for the sound you want to keep.
Step 2: detach the audio
Click the video on the timeline. In the right property panel, open Audio, then click Detach audio.
You should now see a separate audio clip below the video. Select that new audio clip for the next step, rather than selecting the picture again.
Step 3: switch Noise suppression on
With the audio clip selected, open Audio in the right property panel. Switch Noise suppression to On. Clipchamp processes the audio to reduce background noise, hum and echo.
Keep the distinction between the video and audio clips in mind. The suppression switch applies to the sound you detached.
Step 4: listen and undo if needed
Our suggestion: replay the same section and compare the voice with the original. Listen for words that become harder to understand, as well as sounds that become quieter.
To undo the effect, switch Noise suppression to Off in Audio. Use that switch for the comparison before deciding what to keep.
Step 5: export the video
Export the version you have chosen. Our suggestion: play the exported file from the beginning and check its ending before sending it to anyone. Keep the original recording beside it.
- Import your video
- detach the audio
- switch Noise suppression on
- listen to the result
- export the video
On a Mac: iMovie
Select the audio clip, or a video clip with audio, in iMovie’s timeline. Click Noise Reduction and Equalizer, then select Reduce background noise. Drag its slider right for more reduction or left for less.
The slider runs from 0% to 100%: no reduction to maximum reduction. Apple advises playing the clip back and refining the setting. This is the Mac tool, not the Clipchamp switch.
On an iPhone: Photos Audio Mix
Audio Mix works with a video recorded in Spatial Audio. Apple’s support page lists iPhone 16 models, iPhone 17 models and iPhone Air for Spatial Audio recording.
Open the video in Photos, tap Edit, then Audio Mix. Studio reduces background sounds and reverb. In-Frame reduces sounds and voices from sources outside the picture. Adjust the slider to change the effect and background-noise level.
Use the iPhone video-editing guide if you also need to work on the picture. Keep those changes separate from judging the sound.
Other free and paid routes
Choose by device and by the kind of file you have. Adobe Podcast treats an audio upload differently from a video upload; the table keeps that limit visible.
| Device | Tool | Where to start | Official note |
|---|---|---|---|
| Windows | Clipchamp | Audio, then Noise suppression | Detach the video’s audio first |
| Mac | iMovie | Noise Reduction and Equalizer | Reduce background noise uses a 0% to 100% slider |
| Supported iPhone models | Photos Audio Mix | Edit, Audio Mix, Studio | Requires a Spatial Audio recording |
| Browser | Adobe Podcast Enhance Speech | Upload audio | Video uploads are for Premium users |
| Desktop, paid route | Adobe Premiere | Essential Sound, Enhance | Mix Amount balances enhanced and original audio |
Source: Microsoft, Apple iMovie, Apple Photos, Adobe Podcast and Adobe Premiere, read 3 to 5 November 2026.
What these tools miss
The makers give different limits. Start with the one that affects your file or device, then compare the result by ear.
- Clipchamp needs a video’s audio detached before noise suppression.
- Adobe Podcast accepts video files only for Premium users.
- Adobe says Enhance Speech at 100% can sound unnaturally perfect; its slider adjusts the strength.
- Google Photos lists Audio Magic Eraser among features available only on Pixel devices.
Here is the search-result snapshot behind the device comparison. These are our labels for the search results, not ratings of the tools or claims from testing them.
| Result | Kind | What it teaches |
|---|---|---|
| Background Noise Remover - Chrome Web Store | Extension listing | Browser extension listing |
| Remove Audio Background Noise in Just One Click | Vendor tool page | CapCut noise controls |
| is there a way I can remove background noise in my audios ... | Forum thread | Discussion of removing noise |
| Remove background noise from your next video clip. | Vendor feature page | Premiere noise effects |
| How to Remove Background Noise in Your Videos | Video | Video tutorial |
| How to Remove Background Noise in CapCut Mobile | Video | CapCut mobile tutorial |
| How to Remove Background Noise from Video or Audio (FREE) | Video | Free-tool tutorial |
| How To Remove Background Noise From Video | Vendor guide | Written noise-reduction guide |
| Remove Background Noise From Audio And Video - Online | Online tool | Upload-and-clean tool |
| How to Remove Background Noise in Video | Video | Video tutorial |
Source: our snapshot of the Google US results for this search, 3 November 2026.
Our suggestion: use a tutorial that matches your device rather than assuming every Noise reduction button follows the same route.
Our example: a cafe clip clean-up plan
Our example (illustrative, not a real client).
Saffron Cup Cafe has a 30-second menu video with a coffee machine behind the speaker. Our suggestion is to try the Clipchamp switch, then compare the voice before committing.
- Clip: the owner introducing the morning menu.
- Noise: the machine and sounds from the open doorway.
- Tool: Clipchamp on Windows, following the route above.
- Order: import, detach audio, switch suppression on, then listen.
- Listening check: compare the menu names with the original recording.
- Finish: export the chosen version and listen to the exported file.
For a separate soundtrack after the clean-up, see adding music to a video.
Frequently asked questions
Why detach the audio first?
Clipchamp’s noise suppression works on audio clips. For a video with sound, Microsoft says to separate its audio first.
Can I turn the effect off?
Yes. In Clipchamp’s Audio tab, switch Noise suppression to Off.
Does Audio Mix work on every iPhone?
It requires a Spatial Audio recording on supported models. Apple lists iPhone 16 models, iPhone 17 models and iPhone Air.
Sources
Maker instructions read 5 November 2026.
Published · Updated