How to Transfer Photos From Android to PC
To use a cable, unlock the phone, connect it to the PC and choose File Transfer in the USB notification. On the PC, open Photos, select Import and choose the phone.
To send wirelessly, use Quick Share. If your phone is linked to the PC with Phone Link, you can save recent photos from its Photos view.
Which transfer method should I use?
Use a USB cable
- select File Transfer
Send without a cable
- Tap Quick Share
Save recent photos
- Select Save as
Use Google Photos
- Click Download
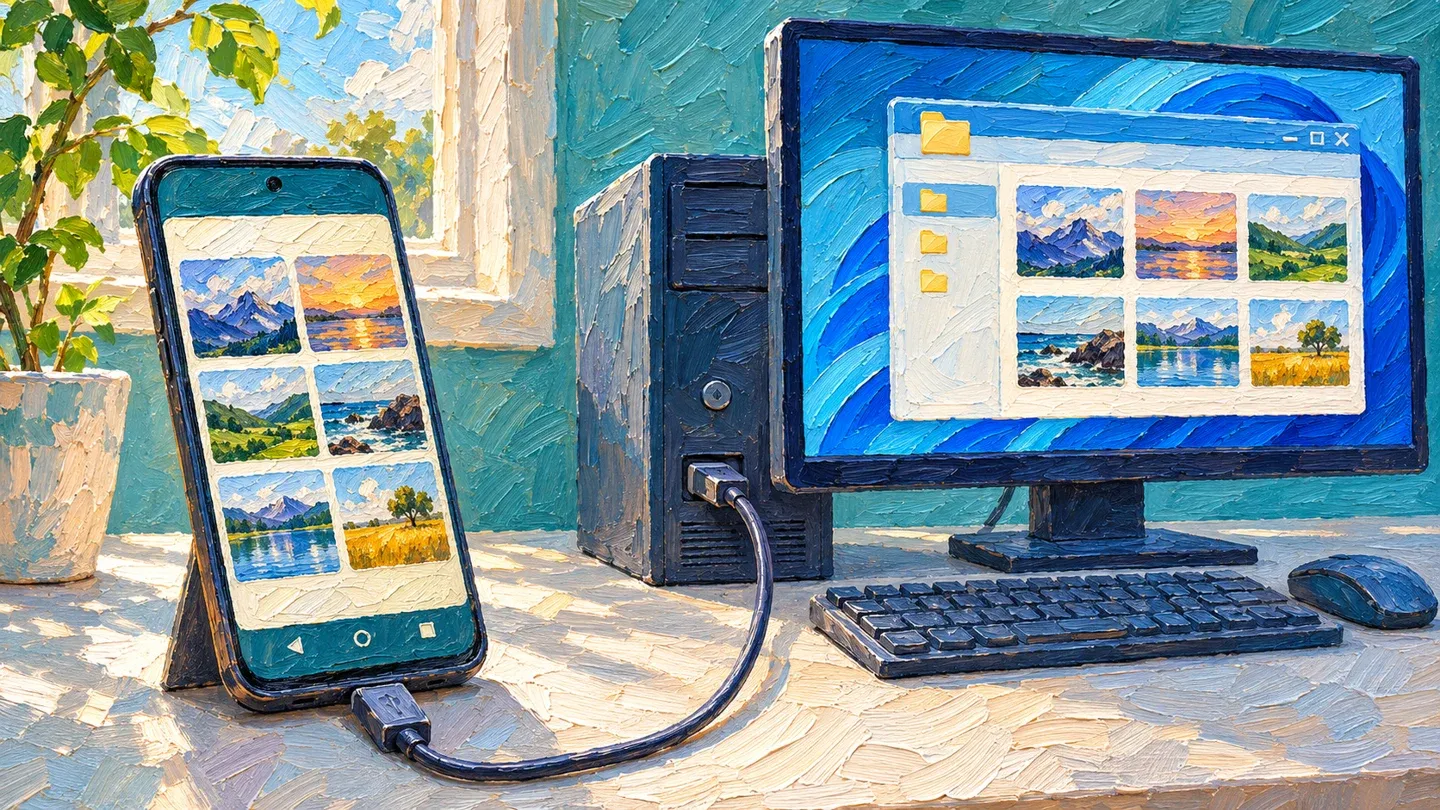
Which transfer method should I use?
Use a USB cable to copy many photos or whole folders. Use Quick Share to send a few photos without a cable. Use Phone Link for recent photos on a phone already linked to the PC. Use Google Photos if the photos are already backed up there.
Have an iPhone? See our guide to moving photos from an iPhone to a PC.
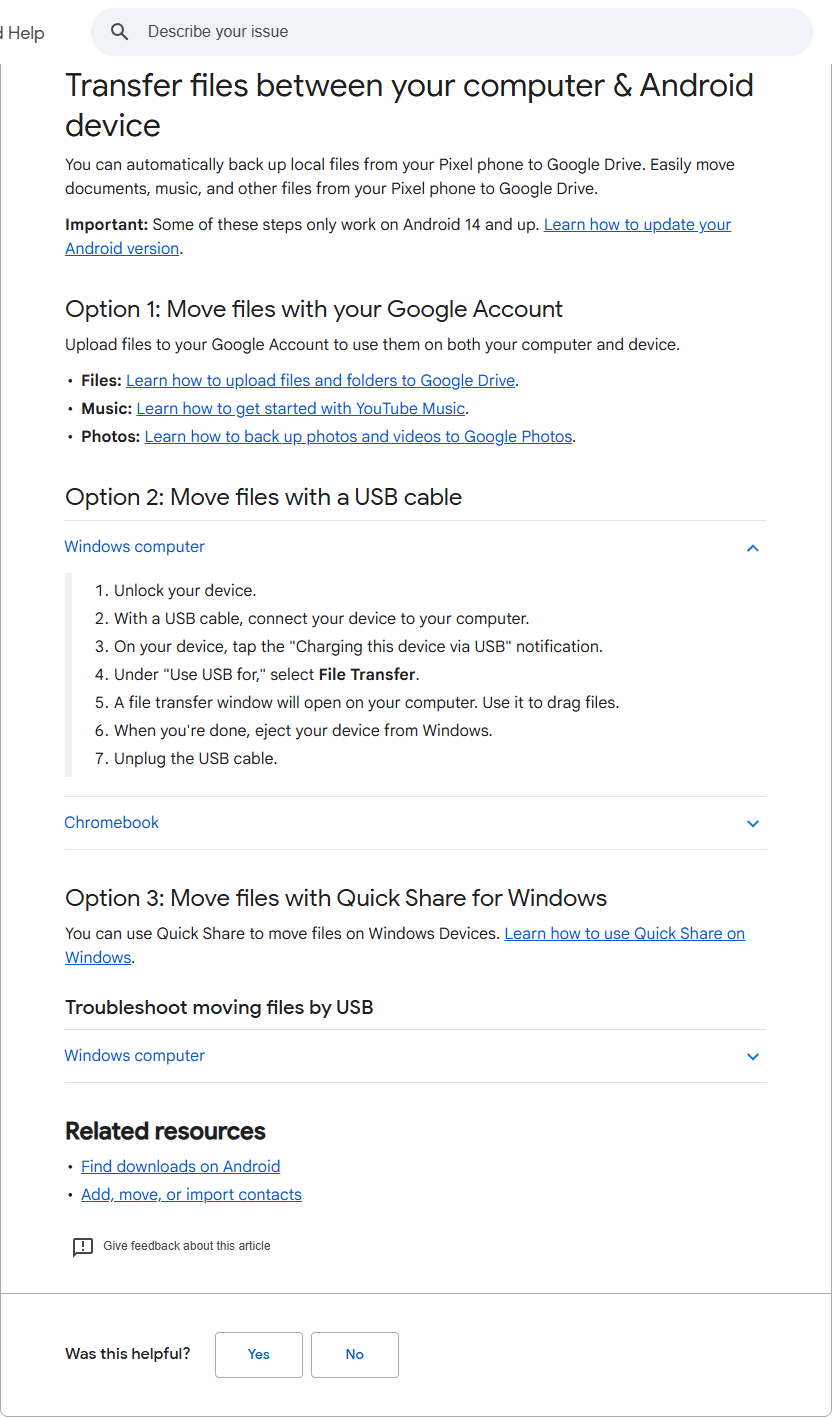
How do I copy photos with a USB cable?
Use a USB cable that transfers data. A cable that only charges the phone will not do the job.
Copy files in File Explorer
Start on the phone, then switch to the computer once the transfer window opens.
- Unlock your Android phone.
- Connect it to the PC with the USB cable.
- On the phone, tap the Charging this device via USB notification.
- Under Use USB for, select File Transfer.
A file-transfer window opens on the computer.
- Open File Explorer on the PC.
- Choose This PC.
- Open your phone.
- Open Internal storage or Internal shared storage.
- Open DCIM.
- Open Camera.
- Select the photos and copy them.
- Open your destination folder on the PC and paste the photos into it.
- When you’re done, eject your device from Windows.
- Unplug the USB cable.
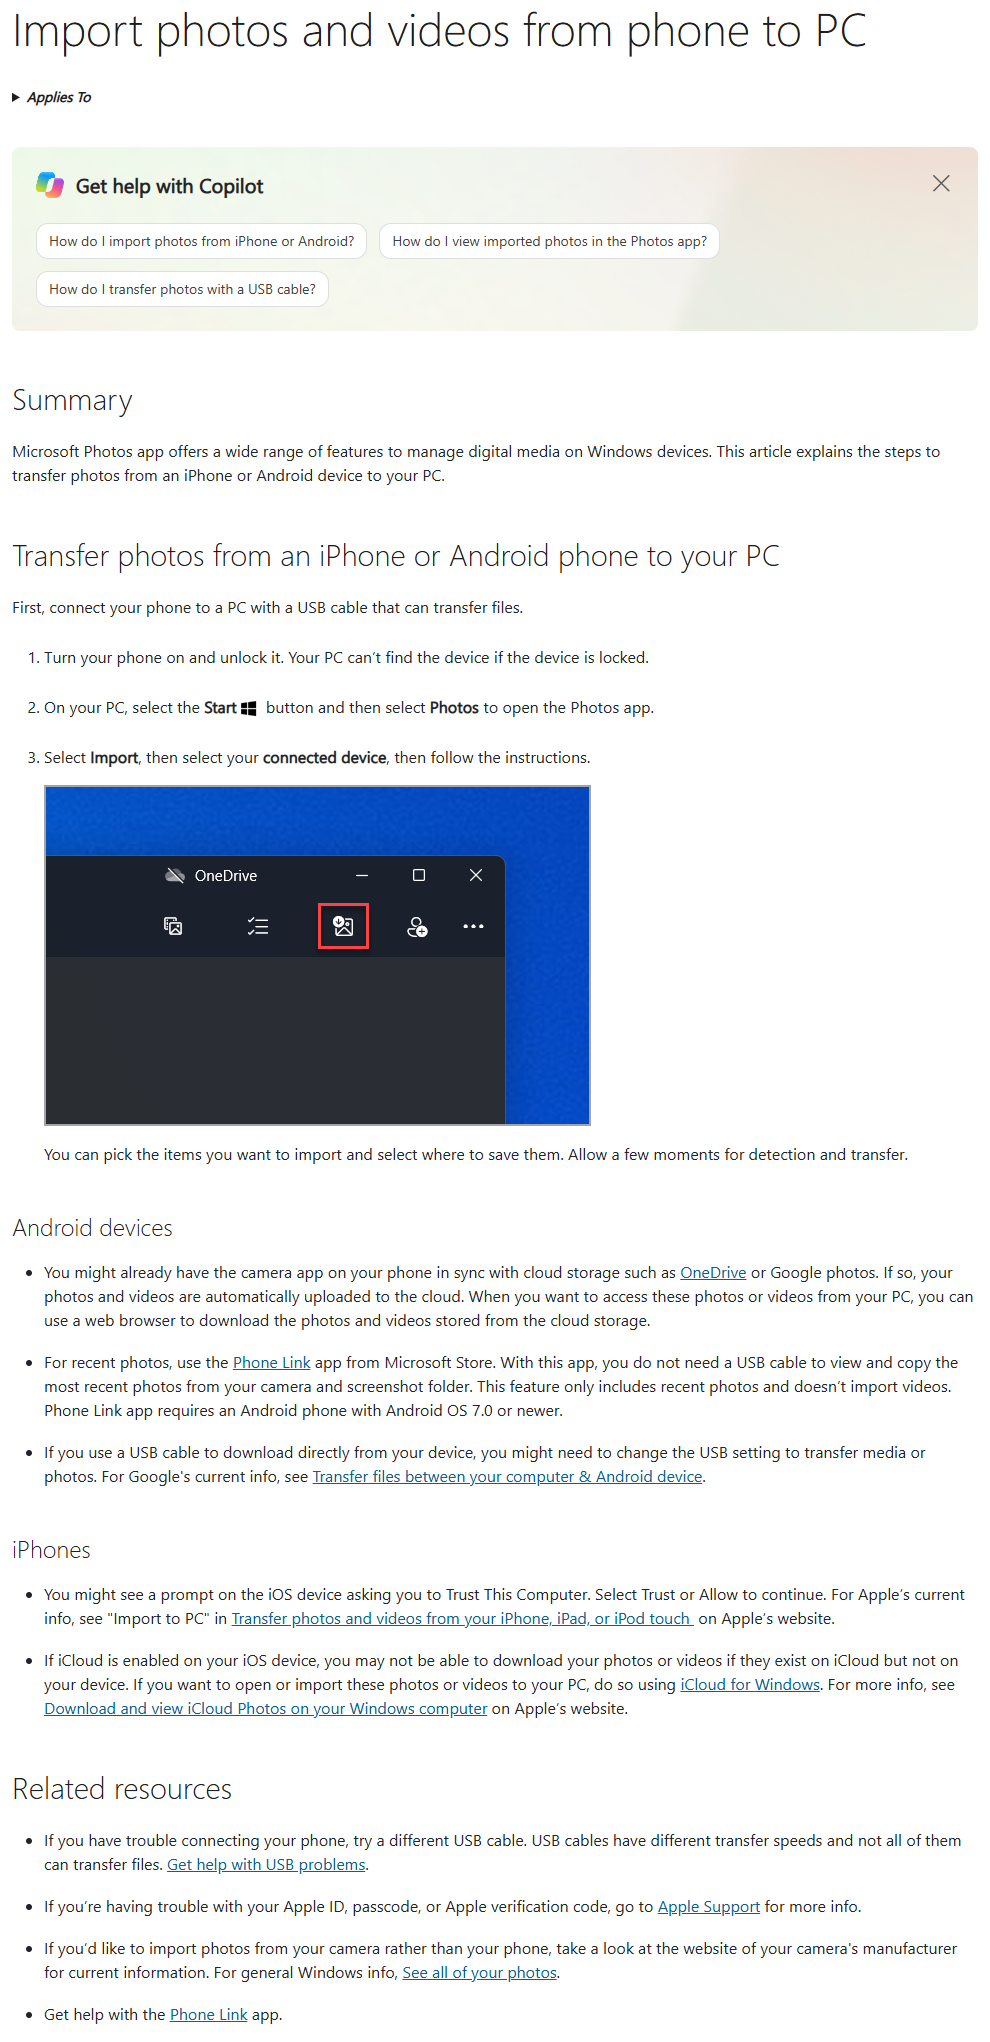
How do I import photos with the Windows Photos app?
You choose which pictures to bring over and where to save them.
- On the PC, select Start.
- Select Photos to open the app.
- Select Import.
- Select your connected device.
- Follow the instructions to pick the items you want.
- Select where to save them.
Allow a few moments for detection and transfer. Open the destination folder and check the copied photos before deleting anything from your phone.
How do I transfer photos without a cable?
Use Quick Share, Google’s app for sending files between an Android phone and a PC.
On the PC, Quick Share needs a 64-bit version of Windows 10 or later. A PC with an ARM processor needs Windows 11 or later. The phone needs Android 6.0 or later. On a Samsung PC, Google points you to Samsung’s own Quick Share app in the Microsoft Store.
Set it up on the PC like this:
- Download and install Quick Share from Google’s setup guide.
- Open it as your normal user, not with Run as administrator.
- Sign in, name the PC and choose who can share with you under Receiving.
- Turn on Bluetooth on both devices.
- Connect both devices to the same Wi-Fi network (the PC can use Ethernet).
- Keep both devices within 16 feet (5 meters) of each other.
On the PC, open Quick Share and make it visible to the sending device.
To send a photo:
- On the Android phone, open the photo you want to send.
- Tap Share.
- Tap Quick Share.
- Tap the PC you want to share with.
- On the PC, review the incoming request.
- If a PIN appears, check it matches the phone.
- Select Accept on the PC.
Quick Share saves received files in the Quick Share folder under Downloads on the PC. Transfers between your own devices with the same Google Account are accepted automatically.
To control who can send you files, sign in to your Google Account in Quick Share and set Receiving to Contacts or Your devices.
Use Phone Link
Phone Link is Microsoft’s app that links your phone to a Windows PC. Its Photos view shows recent photos from the phone’s camera and screenshot folders, without a cable. It needs Android 7.0 or newer and does not copy videos.
- In Phone Link, select Photos.
- Right-click the photo you want.
- Select Save as.
- Navigate to your destination folder.
- Click Save.
You can also drag a picture from Phone Link’s Photos view onto the PC desktop to copy it.
Download from Google Photos
Use this route for pictures already backed up to Google Photos.
- On the PC, go to photos.google.com.
- Sign in to the Google Account holding the photos.
- Select a photo or video.
- Click More.
- Click Download.
If you select several files, they download to the PC’s Downloads folder as one ZIP file.
Windows may show the download date as the photo’s file date, but the original date stays in the photo’s details. To download a whole library rather than a batch, use Google’s Photos data export.
What if my PC does not see the phone?
Before you try another method, check the cable.
- If USB transfer does not work, try another data-capable cable.
- Restart the PC.
- Update Android and restart the phone.
- To check the phone’s USB port, connect it to a different computer.
- To check the PC’s USB port, connect another device to that PC.
If Quick Share does not find the PC, check that the app is open on both devices and the PC can receive. Check Bluetooth and the network too. Some Wi-Fi networks, such as office ones, block device-to-device sharing. If that still fails, Google suggests turning off Wi-Fi on the phone, turning on its hotspot and connecting the PC to it. Close and reopen the app before trying again.
Sources
- Transfer files between your computer & Android device
- Import photos and videos from phone to PC
- Share files between Android & Windows with Quick Share
- Use Quick Share on your Android device
- View and manage photos from your Android device on your PC
- Google Photos: Download photos or videos to your device
- HowStuffWorks: How To Transfer Photos From Android to Your Laptop
- ZDNET: Transfer photos from your Android phone to your Windows PC
Published · Updated